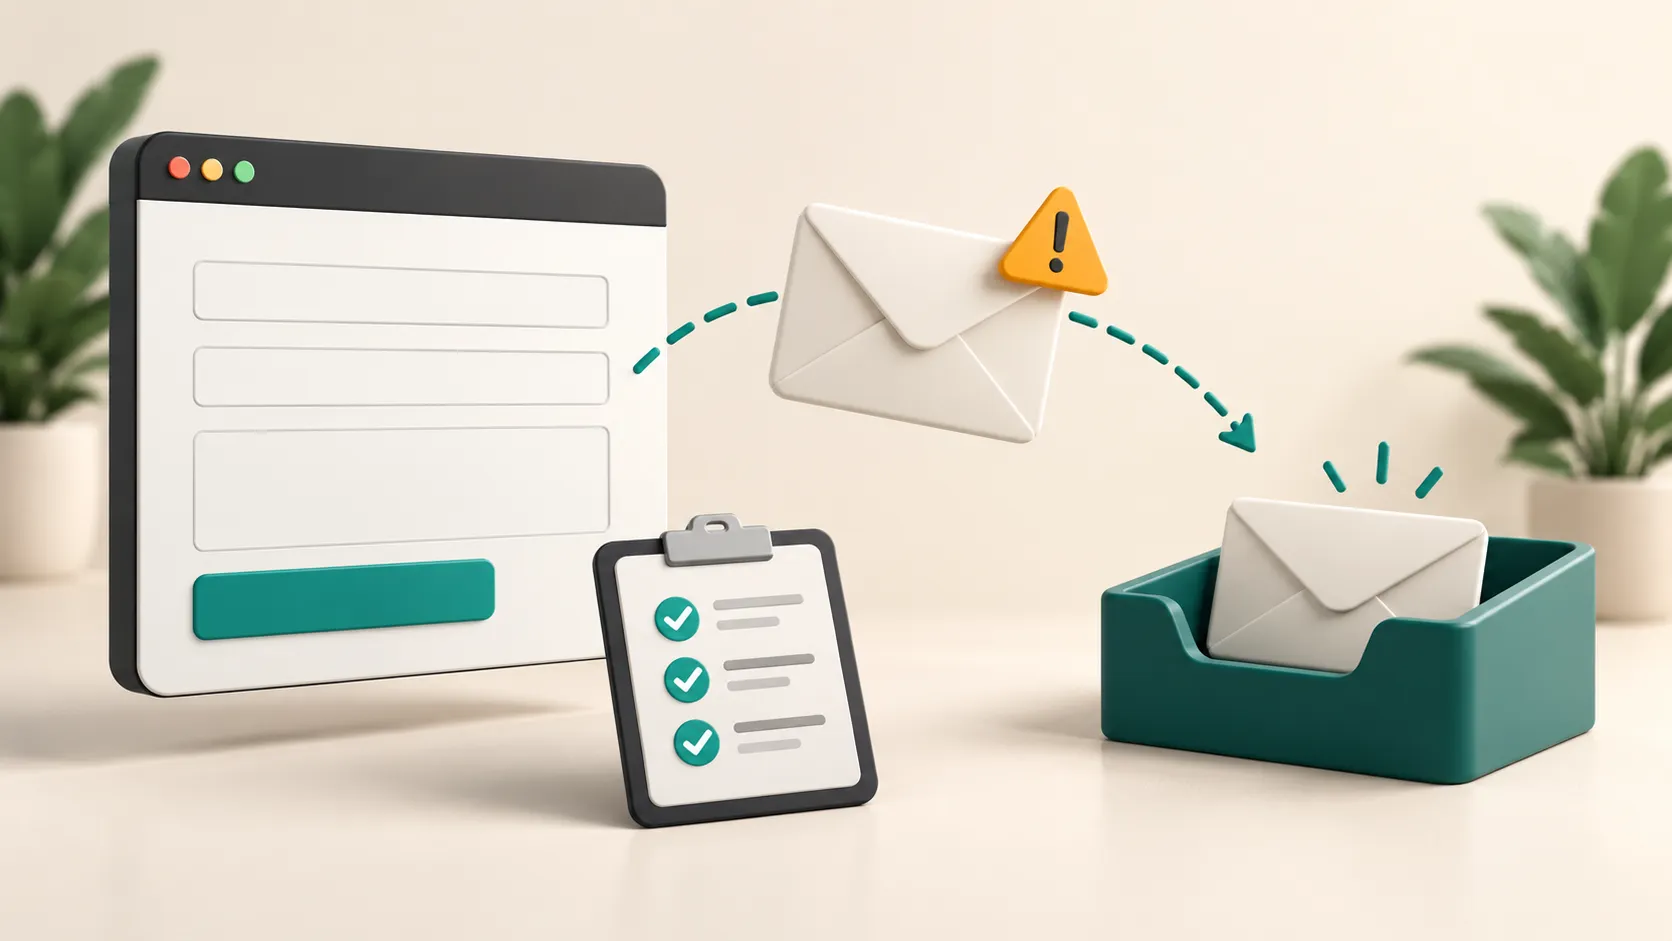
A WordPress contact form not sending emails needs a step-by-step check of the submission, notification settings and mail delivery. First, confirm that the website accepted the form. Then check whether it created an email, whether the mail service processed it and where the receiving mailbox placed it.
That order matters. A message saying “sent successfully” does not prove that an inquiry reached your inbox. The official WordPress wp_mail documentation explains that a successful return value means the sending method processed the request without an error. It does not confirm receipt by the person you intended to contact.
For a business, this can create a quiet problem. Visitors believe they have contacted you, while your team sees no message to answer. Before rebuilding the form or installing another plugin, follow the path of one test submission. The evidence will help you choose the right fix.
Start with one traceable test submission
Open the public contact page in a private browser window. Fill it out as a visitor would, using an email address you control and a harmless test message. Give the message a unique reference, such as “Website form test October 1 at 10:15.” Record the time and the page address.
Watch what happens after you press submit. Does the page show a confirmation, highlight an invalid field, display an error or keep spinning? Take a screenshot of the result. Then look for that exact test reference in the intended inbox and any available form or mail records.
Use the same reference when asking your developer or host for help. “Email is broken” leaves them with several possibilities. “This form showed a success message at this time, but the notification is missing” gives them a specific event to investigate.
Avoid using a customer's real message for repeated testing. A short sample gives you what you need without copying personal details into logs and support conversations.
Separate submission problems from email problems
If the form never accepts your submission, begin with the form itself. Check required fields, the displayed validation message and any anti-spam challenge. A developer can inspect the browser's console and network request to see whether the submission reached the server and what response came back.
Make a note of the exact symptom rather than guessing the cause. A stalled submission after a site update calls for different checks from a successful submission with a missing notification. Do not change mail credentials simply because the submit button appears unresponsive.
If the form accepts the submission, look for a saved entry if your setup supports one. An entry can show that the site captured the inquiry even though the notification did not arrive. Its absence is not conclusive unless you know entry storage is enabled and working.
For example, Contact Form 7 does not store submissions by default. Its message storage documentation describes Flamingo as an option for saving them. Check the behavior of your actual form plugin rather than assuming every WordPress form works the same way.
Review the notification settings for that form
Open the settings for the specific form on the affected page. A site can contain several similar forms with different recipients or notification rules. Confirm that you are editing the one visitors actually use.
Check that the notification is enabled and the recipient address is correct. Look for an old staff address, a spelling mistake or a field reference that no longer exists. If the form uses conditional notifications, test whether the selected answers meet the rule that triggers the message.
The WPForms notification troubleshooting guide covers notification and delivery settings for that plugin. Other form builders use different labels, but the review should answer the same practical questions: who should receive the message, when should it send and what should it contain?
After making a change, submit a new test with a different reference. Keep a brief record of what changed. If you edit five settings together, it becomes harder to know which one solved the problem or caused another issue.
Use the right From and Reply-To addresses
The From address identifies the sender of the notification. The Reply-To address tells your email program where to direct a reply. Those fields serve different purposes.
A sensible arrangement uses an address on your business domain as the sender, with the visitor's validated email address in Reply-To. For example, a notification could come from website@example.com and allow your team to reply to the person who completed the form. These are illustrative addresses; use the real sender approved by your mail provider.
Contact Form 7's mail configuration guide calls for a From address on the website's domain. Its mail setup guidance explains how Reply-To can direct replies to a different address.
Do not put a visitor's Gmail address in From as though your website sends on behalf of Gmail. Use the form plugin's supported field mapping for Reply-To and follow the sending service's requirements for verifying your own sender.
Once the test notification arrives, press reply and inspect the destination before sending anything. Delivery is only half the job if staff cannot respond to the correct person.
Check the mail service before adding more plugins
WordPress needs a working route for outgoing mail. Depending on your setup, that may involve the hosting server, an SMTP connection or an email provider's API. WPForms notes that some hosting environments do not support the default mail setup well enough for reliable notifications.
An authenticated mail service can provide a more manageable sending route, but installing an SMTP plugin alone does not complete the setup. The connection details, sender authorization and provider account must all be correct. Check the provider's current instructions for the integration you use.
Send a mail test through the configured connection, then submit the real form again. If the connection test works but the form notification fails, return to the form's notification settings and inspect the record for that submission. If both tests fail, investigate the shared mail route.
Do not run several competing mail-routing plugins while troubleshooting. First establish which integration currently controls outgoing messages. Review authentication errors, account restrictions, usage limits and provider logs where available. Share error codes with the responsible administrator without exposing passwords or API keys.
Verify domain authentication with your provider
Mail providers use domain authentication to assess whether messages are authorized. SPF identifies permitted sending sources for a domain. DKIM adds a signature that recipients can verify. DMARC checks alignment with the visible From domain through passing SPF or DKIM and publishes a policy for failures. Google's email sender guidelines explain these mechanisms and the requirements that apply to different senders.
Use the records supplied for your actual sending service. Do not copy another website's DNS settings or assume that records for one provider also authorize a second provider.
Before changing SPF, list the systems that send mail for the business. These might include staff email, website notifications and a customer-management platform. Google's SPF setup guidance starts with identifying all senders. A change intended to repair the website should not accidentally remove another legitimate source.
Review an existing DMARC policy before changing it. Follow your provider's setup process and verify authentication results. Google's DMARC guidance explains why SPF or DKIM must work first. Authentication supports delivery, but it does not guarantee inbox placement.
Search the receiving mailbox and read delivery evidence
Search the recipient account for the unique test reference. Check spam, junk, quarantine and any rules that move or forward messages. A notification might have arrived somewhere other than the main inbox.
Then compare that result with the available mail records. A WordPress log may show an attempted send. A provider log may show acceptance, delay, rejection or a bounce. Read what each status means in that system before treating it as proof of delivery.
Even a provider's “delivered” event may mean the receiving server accepted the message, not that it placed the message in the visible inbox. Use the recipient's mailbox check to complete the test.
Try another mailbox you control as a comparison when needed. If one destination receives the same notification and another does not, that gives you a narrower problem to investigate. It does not prove that every part of the original setup is correct, but it is more useful than repeating the same test without collecting evidence.
Keep an appropriate record of inquiries
Email notifications should not be your only recovery route when the form supports saved entries or another suitable destination. Check whether accepted submissions appear in the form's entry list, a connected customer system or an approved storage integration.
For Contact Form 7, adding storage now will not recreate messages that were never saved in the past. Before assuming old inquiries are lost, check whether another existing integration recorded them. Be clear about what the available evidence can and cannot recover.
Assign someone to review incoming entries. A backup record does little for the business if nobody checks it when notifications fail. Set an appropriate retention period and limit access to the staff who need the information.
Keep troubleshooting logs proportionate too. You may need timestamps, recipients and delivery responses without retaining complete message bodies indefinitely. Remove temporary test data after the issue is resolved.
Test the whole process after the fix
Finish with a fresh submission through the live contact page. Confirm the visitor sees the right response, the entry appears where expected and the intended recipient receives a readable notification. Check that all important fields are present and that Reply-To points to the test sender.
Repeat the task on a phone. Make sure field errors are understandable and a visitor can correct a mistake without starting over. If the form accepts uploads, test a small permitted sample as well as a submission without an attachment.
Record the final configuration and the successful test time. This gives the next person a useful starting point if the issue returns. Repeat the check after hosting changes, form edits or major site updates rather than relying on the original launch test forever.
Make the contact form part of website maintenance
A contact form is a working business process. Someone submits a request, the website records or routes it, and the team needs enough information to respond. Checking only the appearance leaves most of that process untested.
Choose a review schedule that fits how much the business depends on the form. Keep the test simple and give someone responsibility for it. If the form is unavailable during repairs, provide a clear alternative contact method on the page.
My WordPress development service includes work on existing websites and integrations. If inquiries are missing, tell me about your website, which form plugin you use and what happens when you submit a test. Those details provide a practical starting point for finding and fixing the failure.